
Product Testimonials
From customers who have purchased and used AeroFoil, we've received the following:
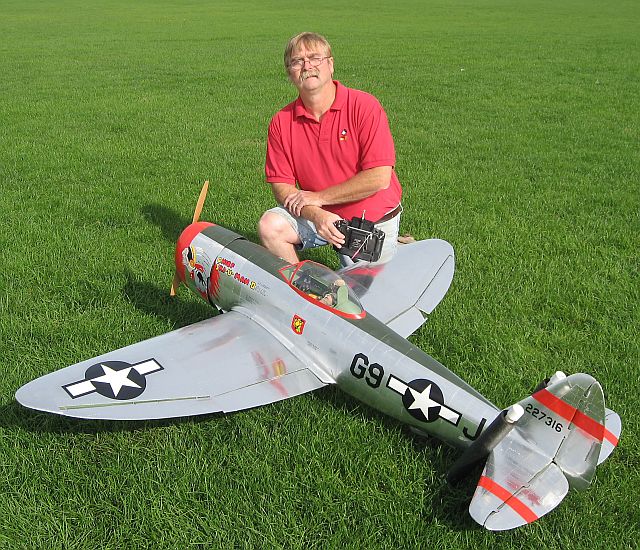
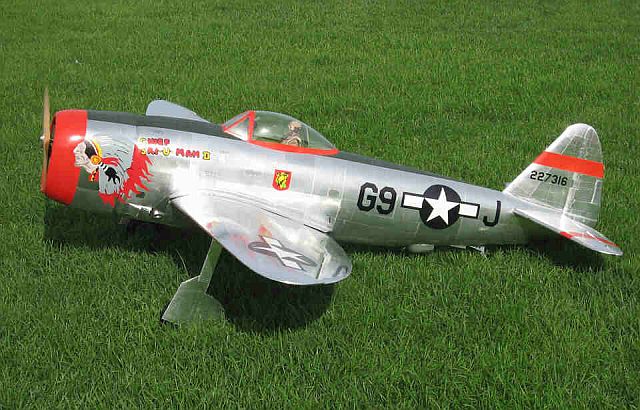
Scott Annis' IMP P-47 26 lbs, 80" w/s, G38, Shindin Retracts, JR 8103 radio and Aerofoil Covering. |
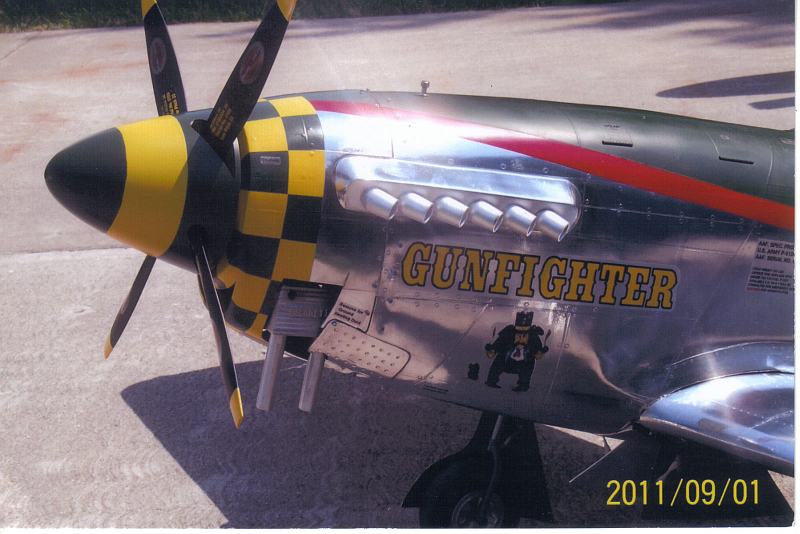
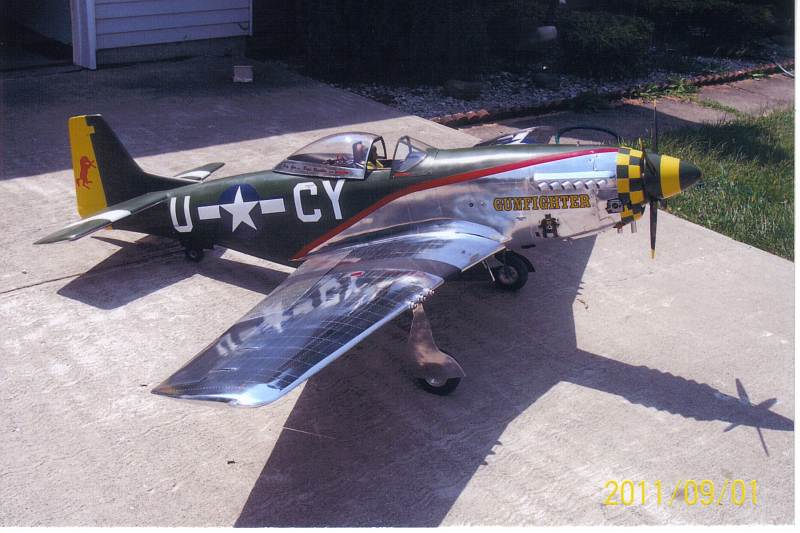
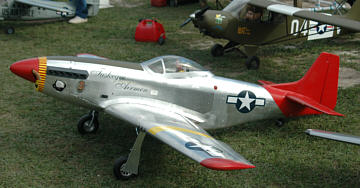 This P-51 done in Tuskegee Airmen markings is the work of Ken Bridges of Port St. Lucie, FL,
covered in Aero Foil. The kit was modified from an American Eagle kit. Powered by a Quadra 100
and JR radio for guidance.
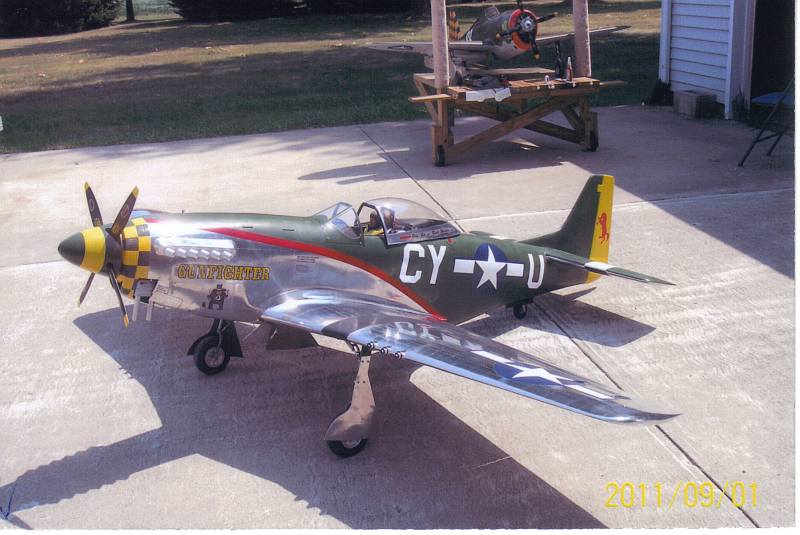
This P-51 done in Tuskegee Airmen markings is the work of Ken Bridges of Port St. Lucie, FL,
covered in Aero Foil. The kit was modified from an American Eagle kit. Powered by a Quadra 100
and JR radio for guidance.
|
|
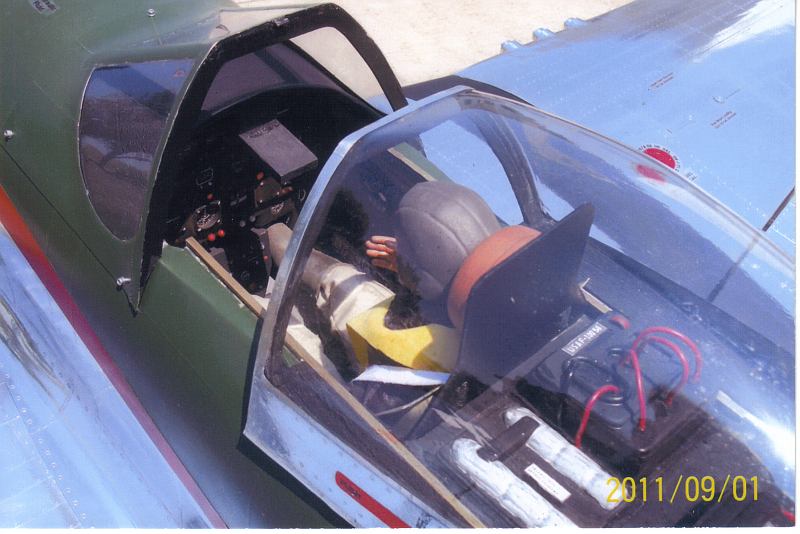
Paul (Limey) Rice 5255 Pine Meadows Rd. Lake Worth, FL 33463 I was recently introduced to a new product on the market called Aero Foil. Aero Foil is a .012 mil thick self-adhesive aluminum foil for the modeling enthusiast. I was currently in the process of building my first scale competition plane, a Vailly Aviation Hawker Tempest MK5, when Dino Di Giorgio of Aero Accessories Inc approached me. He asked if I would like try his product on my Tempest before painting. I answered, sure. I wanted to go all the way for scale realism. Putting thin pieces of tape on a plane to replicate panel lines looks OK, but I wanted that extra-mile realism. I started by glassing the entire plane, then sanding and priming until all the imperfections were removed. The foil tends to show imperfections because of how light and thin the material actually is. After sanding, I tack-clothed the areas where I wanted to work. First I drew the panel lines on the plane using a no. 2 pencil, starting from the back of the wing, laying out pieces of foil just oversized over each panel. I then used a scalpel to carefully trim without cutting into the glass, balsa, or access foil to leave it with the right-sized panel. The next panel is the same principle, depending on the scale of your plane. My Tempest is 1/5 scale so I overlapped 1/8th inch to reproduce the panel line. The panels that are next to each other do not need to be overlapped but placed close together, again depending on the size of your model. Laying the foil on a surface is an art in itself. It is not the simplest material to work with but with practice and patience the results will be outstanding and well worth your time! It took me three days to cover my Tempest. The best tools to work with the Aero Foil I found are a kidney-shaped burnishing tool made of rubber, a metal burnishing knife, and the back of a spoon. After all the foil had been placed on the aircraft, I lightly scuffed the surface with 400-grit sandpaper. I then proceeded to place all the necessary rivets on the surface using various size pieces of brass tubing. Afterwards rubbing the entire plane down with tack cloth. On my model, I decided to prime the entire plane with a green zinc chromate water-based primer. After priming I used Tamiya Aircraft Colors to finish the plane. A clear coat was made but it is optional depending on your personal preferences. After a few days drying time, I scuffed, dinged, and scratched the entire plane to replicate war usage. Then took it to Dino's where he showed me the art of weathering an aircraft. After seeing his 2000 Top Gun High Static winning Mustang, I wanted that same effect. The results were amazing. The plane has been subjected to rain, 90+-degree heat, sunlight, and all the elements and the foil has not changed, lifted or had any bad reactions. I'm very impressed with this product from the scale point of view. I think this is a great addition to any plane or any modeler's workshop. My thanks to Aero Accessories Ltd. for producing a line of great products, providing the average to scale modeler with the ability to convert the planes of our day dreams into outstanding flying models. Paul Rice |
Dino, I want to thank you for your honesty, professional help and very quick response when placing an order with you. I have never met you, but you made me think of you as a friend. I have never felt this way with any other vendor. You are great do do business with. The AeroFoil material I bought from you, as a first time user, went on without any problems in record time. The secret of putting this material on a conventional primed finished surface with all panel lines penciled on (ready for final paint), is a product called Rapid Tac which is a cleaner and application fluid for decals. The wetter the surface the better the application, no wrinkles, bubbles, and the aluminum can be removed for repositioning if necessary. I cleaned the primed aircraft with 409 De greaser to remove all the body fluids from me touching the aircraft. I used 3M 014D1 green tape purchased from Walmarts for outlining the individual panels. I then used three basic tools for applying the Aero foil. I used modeling clay tools from Kemper Tools, WT22 and WT3 which can be purchased from www.ceramicscraft.com and Bondo Applicator spreaders from Walmart. The total cost of the tools was approximately $7.00. The bondo applicators are used for removing the fluid and you use the different sizes depending on the size of the panel. I used mineral spirits to lubricate the #11 exacto blades prior to cutting. I used about 20 blades to do the whole aircraft. After the aircraft was completely covered I put on all the rivets, spot welds, and additional panel lines. I cleaned the aluminum surface with rubbing alcohol prior to painting. I masked the aircraft with painters tape zero edge. All surfaces to be painted were primed with Dupli-Color self etching primer for aluminum then painted with KlassKote epoxy paints. I polished the exposed aluminum with Mothers aluminum polish to achieve that high gloss luster aluminum finish. The great looking decals were purchased from Cal-Grafx. Thanks for making this an outstanding model. Dominick |
|
See Construction Photos and Applications
|